
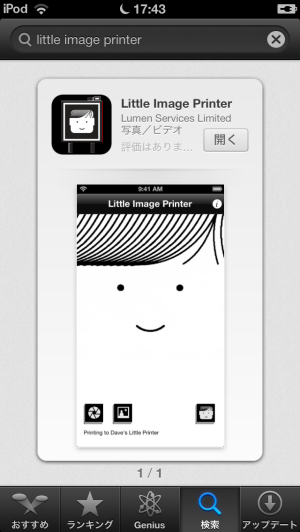
まず、iOS端末からApp Storeにアクセスし、「Little Image Printer」を検索する。
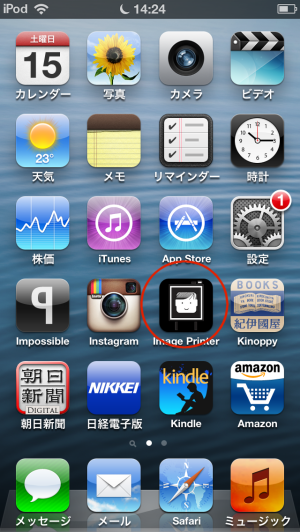
インストールを完了すると、以下のアイコンが表示される。
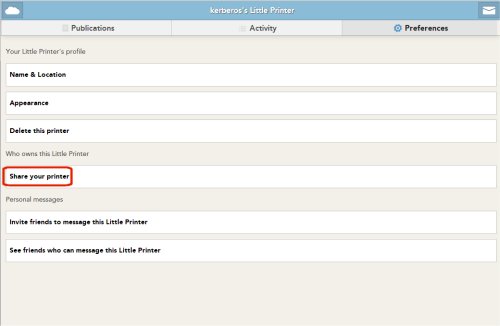
アプリケーションを起動したら、最初に自分のLittel Printerを登録する必要があるが、そのためにはBERG Cloudサービスにサインインしてアクセスキーを取得しなくてはならない。ホーム画面から「Preferences」タブを選択し、「Share your printer」メニューを選択する。
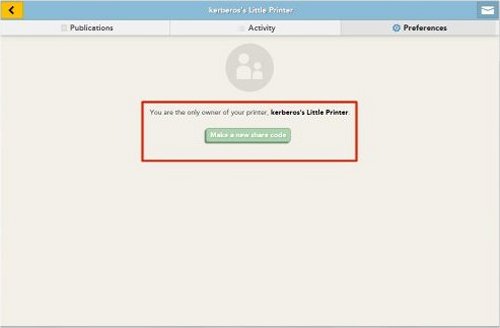
この後、表示される画面で、「Make a new share code」ボタンをクリックすると、プリンターへのアクセスキーが生成される。
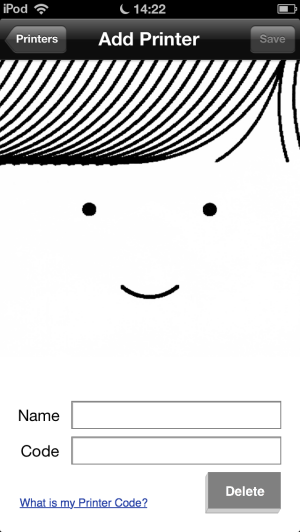
このアクセスキーをLittle Image Printerのプリンター登録画面に入力する。注意すべきは、BERG CloudにLittle Printerを初期登録する際の認証コードとは別物だということだ。プリンターそのものは、既に登録済なので、ここで入力を求められているのは、それを誰かあるいは何かのサービスにシェアするためのコードなのである。
Name欄には、適当な名称を入力し、Code欄に上記のアクセスキーを入力する。これで準備が整い、プリンター出力が可能になる。
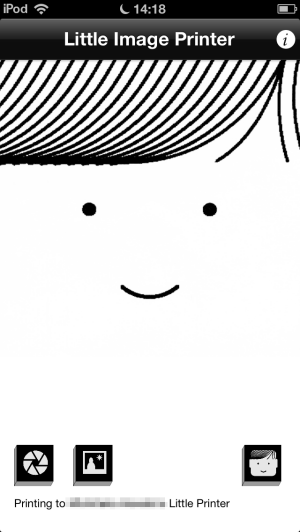
画面下端の左のアイコンで写真を撮影したり、その隣のアイコンで端末に保存されている画像ファイルを選択する。因みに、プリンターの登録や登録情報の変更は、右下のLittle Printerのマスコットアイコンを選択することにより可能だ。
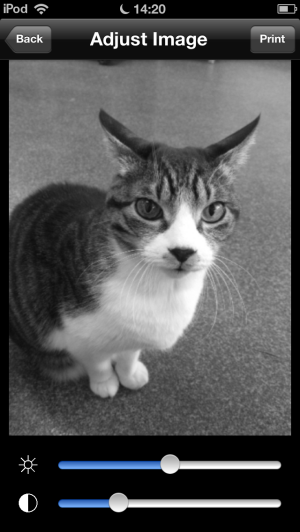
画像は自動的にモノクロ変換後、表示されるので、スライダーを用いて明度とコントラストを設定する。調整が終わったら、右上の「Print」ボタンをタップすればBERG Cloudにデータが送信され、そこから登録済のLittle Printerに画像がPush配信されて、自動的に出力される(購読記事の出力とは異なり、ボタンを押さなくても配信後直ちに印刷される)。
とう訳で、単純にプリンターとして利用するだけであっても、クラウド経由ということになるのだが、これはこれで便利ではある。自宅やオフィスで常時接続状態のLittle Printer宛てに、いつでもどこでもスマートフォン等から画像の出力が可能だからだ。
そんなのは、メールの添付ファイルで事が足りるではないかという意見もあるだろうが、紙媒体に物理的に出力されていることによって、情報の取りこぼしがなくなるという利点があると思う。
大量のメールに埋もれて、うっかり見逃してしまいそうな情報も、紙で排出されていると否応なしに目にすることになる。これはこれで使いようがあると個人的には考えているからだ。


コメントする